Friday 30 April 2010

My Anti Cosmetic animal testing painting and some cool ideas to use in your art journal


I love this painting, the first half is a normal girl and the other half is what she would look like if she had to go through the painthat animals do, just so we can look"PRETTY"?!

Here are some ideas For art journaling that I am loving:

  • work with some ink and just add a few accents to your pages
  • practise drawing
  • think outside the box, look at every material as a potential piece of art journaling gold
  • cut and paste down a random sentance from a book and use this as your prompt
  • buy yourself a pot of gelmedium and experiment
  • use paper chains(handcut) in your backgrounds
  • Date your art work
  • experiment with splatters

Have a good and creative weekend!DO you like it when i just post a piece of art and some prompts or should I give you more techniques or something?

Wednesday 28 April 2010

Prompt:Childhood friends


(Click for a biger version)

Did you have a favorite childhood toy? An object you thought was real?I did. I had this cute Bunny Rabbit called PEter Rabbit. Todays prompt: document this childhood friend. If you have a photo, stick that in, if not try drawing it from what you remember it was like or draw how you remember it feeling like.
I think this is really fun to, just play in my art journal and let myself explore meyself.Start with small things like toys, fave tv shows, books ect. Then dig deeper.What are you passionate about and waht are you opinions on religion, technology ect. Experiment with writing, using quotes, lists or even drâwing a comic strip.
Have fun

Monday 26 April 2010

Check this out

Awesome!
http://vimeo.com/teeshamoore

Love the tutorials for fabric journals!!!Go tesha Moore gogog!!!!!!!!

Book review: Mixed Media Mosaic by Laurie Mika


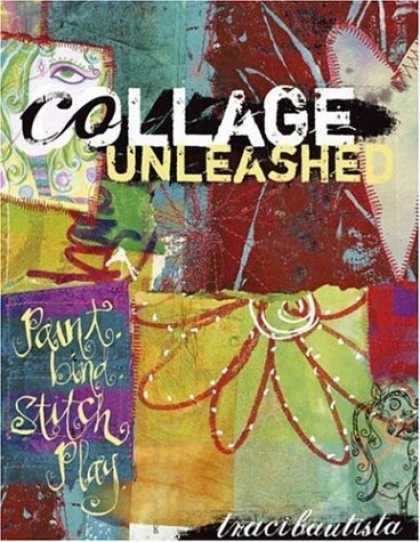
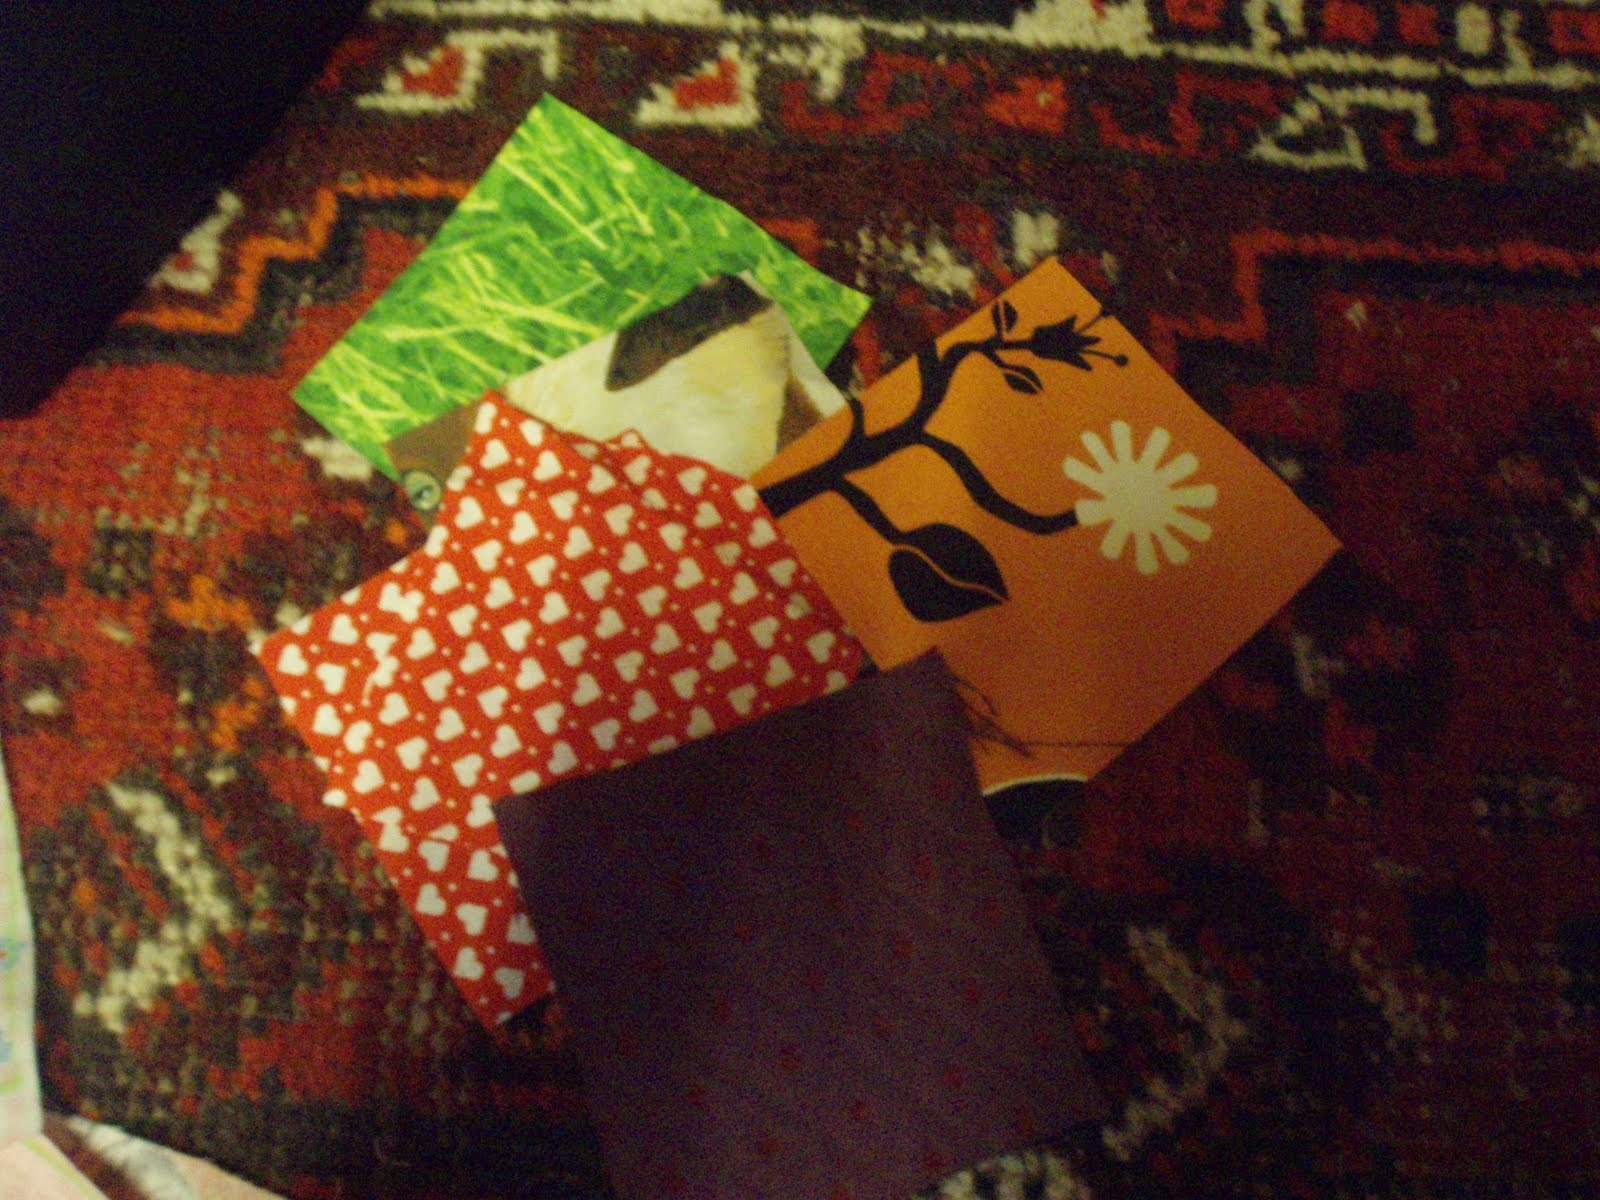
This was one of those books where you have just found an amazing book shop and as you browse the aisle looking for nothing like this, you find a magical book.Above you can see the title page and my very first attempt on making a mixedmedia mosaic box.It was so fun!
But what kind of stuff is inside?
Well, all the instructions come with photos and are very easy to follow. Though I think this is more a book where you read everything through and then just experiment.Any one can follow the instructions. Look at my box , I am a complete beginner in mosaic and look how cool it turned out, even if I do say so myself.Back to the book,it starts of by showing you how to use a few diffrent techniques in your mosaic making. She makess hers from polymere caly and also uses bought glass and clay tiles. She shows yu how to cut, paint and stamp on bought tiles. Then she shows us how to make your own basic tiles, how to transfere onto them, paint them, add little extras such as mica powders and gelpens.Then leran a few reallly cool ways to use mica powders and stamps and how to add beads to your tiles and much, much , much more.

Her next chapter is full of inspirational project ideas such as using the tiles to decorste a box, mirrow, make jewelry or create shrines.

This is an absoulute gem of a book and i think that evry art journal/mixed media artist should own it.Also one tip from me: I wanted to get started, but I did not have any mica powders, so instead I used artists pitt pens in brush and then wiped them with my finger, to create a matt, subtle colour like on the tile, on my box, with the x through it.

Avalible on Amazon:

XXo Makealife

Thursday 22 April 2010

Earthday: Go green and save he earth and animals

Today is Earthday, yay! So please please do your bit for animals or the enviroment today.There are so many simple things you could do today:

  • Go on threadbanger and watch this for some places where you could find eco friendly clothing and accessories


    Check you cosmetics for cosmetic animal testing and download this fab app for your iphone(http://itunes.apple.com/us/app/cruelty-free/id313825734?mt=8) its free!!!
  • Reuse old thing in your art: cut of trimings and buttons from old garments, join stash swaps with your friends, reclaim the matierials used in you WIPs
  • Cut up old magazines to create collage and find other ways to recycle in art like many of alsia burkes creations(http://www.alisaburke.blogspot.com/ )
  • Switch off unused applications and lights
  • Bring your own bag shopping
  • Use old books as art journals or make your own from recycled paper
  • Buy recycled stationary( I have some reviews coming up)
  • Use flowers,leaves and other natural things in your art
  • Create staemeent art to show people how bad things are
  • Support charities
  • Eat less meat
  • Buy organic food and make your own over buying

These are just some supersimple ideas, so please do at least on of these or another earth or animal friendly thing today and remember, your art is your voice to.Chronicle where you found that nice veggie resteraunt or eco friendla hair salon, make art about the animals you saw today, inform your self about how bad your art supplies are for the enviroment and make some changes, use natural collage elemsnts and use rubbish such as old tickets from your everyday live and get active!!!!

Tuesday 20 April 2010

Prompt yourself up part 1


A new series:Prompts from my head to inspire you to create art in your art journal and in other mediums.Try exploring possiblities such as clay, canvas....If you dont have any clay, why not make some salt dough clay?Be crreative!!

  1. Use your art to document a favorite childhood toy
  2. Tell a story about a family member such as your grandma
  3. Create a self portrait.It is open wether you want to grab a mirrow and do an exact study of your face or if you just want to capture your identity in an abstact image
  4. Think of a few key points in your life and create art about them= artistic biography
  5. Explore your mind set on consuming, religion, animal rights and the like
  6. Take a photo of you wearing an outfit you like and explore why
  7. Use things from your everyday life such as stamps, ticket stubs and candy wrappers.Why not try to get one piece like this per day and collect and add to your journal
  8. Draw something once a week, to improve yoiur drawing skills

Have fun!!!!

Tuesday 13 April 2010

Start drawing 1


Here is a quick drawing of my cats head whils he was lieing on the chair.It was so fun, but at the same time hard as he kept moving.I am not really a good drawer but after listening to this fab podcast(http://dannygregory.libsyn.com/), I really wanted to draw.So I am going to make it a weekly practise, that I draw at least one drawing per week.Drawing really lets you grow artisticly and dicover yourself.All you need is paper, a pencil(I recommend 2H) and a rubber(I recommend a kneadable putty rubber).So i will be posting a few drawing prompts over the next time.Starting today:

DRAW YOUR PET OR HOUSEPLANT OR ROOMIE AND WRITE YOURSELF POSITIVE AND CONSTRUCTIVE CRITASIMS, SO YOU CAN WORK ON THE BAD PARTS AND BE HAPPY ABOUT THE GOOD PARTS:)

Wednesday 7 April 2010

Etsy Loves 7.4.2010


Cute art doll made with Air dry clay can be found here


Super cute art doll made from fabric and plaster with moveable polymere clay arms.Can be found here


This super cute Forest girl painting can be found here and was painted by marisolspoon.


This cute nurse kitty was painted by tanyabobd and can be found here


StudioWednesday 7.4.2010


I have decided I will not post my art pages on thursday.I will post them whenever, but
I will do so once a week.Okay guys?
Anyway:
Below is my first art journal page in my new handmade art journal,I have already done way more but I am always abit behind with uploading photos.But who cares? I did this page by first taking my neocolour IIs and appling them to the background and adding water so that you get that lovely blend of colours. I love having lots of colours on my pages.Then i tried out tape trasfer for the image.The way you do so, is take some clear packaging tape, the wide kind and laying the image onto it.Wet this and rub off the back layers of your image.This leaaves only the top layers of paper and therefore the image on the cellotape.The reason I have lines going through mine is because I did not have wide tape , so I had to improvise with normal tape.I still think it turned out fab, don't you? I want to buy some clear packaging tape, so I can try again.

After doing all this, I sat infront of the telly with scissors, a glue roll(very handy) and my box of patterned papers.I just sat there and cut and pasted pretty images the whole evening.Very relaxing. At the end of it all I decided not to add any words as I find this page is like a picture of some secret coloured water.The girl looks like she is under water and it seems to tell me a a million things without any words and i did not want to ruin this.I really like this page.

The next one, is my version of journalgirl's prompt(what makes a miserable art journaler?).I used many layers of paint and paper scraps to gat the background, but I really do like the background.Then I just added my list :

  1. 1.She tries to exactly copy other peoples art.Just copy the elements you lika nd combine into your own style.
  2. She tests everything out before doing it. You should react frominstinct. Your art journal is you place to be free from judgement on how good things are.
  3. Isn't ever happy with what she creates.Sure we don not always create good pieces, but If you dont like the page, you at least liked the process right?
  4. She does not capture her personality and feelings in her art journal
  5. She always does the same basic thing. So say, text in corner and picture at top.Have fun and play with placemnt¨
  6. She lays one layer of background and then is done.Layer you back grounds.Layering is fun!
  7. She plans out her next page!Just be creative

At the moment I am challenging myself with daisyyellow april creative challenge, Make a list of 100 ways to use a paintbrush!It is hard,but very funa dn really makes your brain think creatively!I have 25 ideas so far!!!:)

Tuesday 6 April 2010

Book review:Collage Unleashed


I really love this book.I got it a few months ago and have reread all the techniques and ideas over and over again.This book has 6 chapters, so first I will give you a quick round up of what is in each chapter.

  1. Painting Paper and Fabric: This chapter is all about ways to put paint to paper and fabric.Traci treats both mediums as one.I find this very inspiring.In this chapter she shows you how to die paper towels, how to make crayon cupcakes,how to use an iron to melt crayons and then use them as art and much more. Each idea comes witha step by step tutorial with clear photos and extra ideas.At the end of each chapter she gives you even more ideas to try such as to use your painted papers for colour swatches, name cards, Bookcovers, scrapbook paper or roll up beads.
  2. Printing, stamping and using transparencies:This chapter gives you loads of ideas such as layering prints,doodle monoprints and how to make and what to do with transparencies made from your own art.She introduces the concept of fabric collage with transparencies and offers many attachment methods such as making transparency sandwiches with dired flowers in them and some fab ideas for a texture toolbox.
  3. Freestyle lettering and Doodling:This chapter really inspire you to go out and buy a million gelpens and to get lettering and doodling.She has a fun doodle warmup, how to turn your doodles into wonderful colouring pages,lots of ideas for funky calligraphy and doodling prompts.She also really incouraged me to use everything and anything to doodle with like sumiink and a pipette.Lastly she offers lots of handy tips for writing on fabric.
  4. Combining Collage styles:How to create fusion dyed collage,ideas for collaging with symbols and fabric paper patchwork collage.At the end of this chapter she shares collage starters and themes.A truely inspiring chapter
  5. Stiching bindings and funky embellishments:This chapter is all about how to make journals,She starts of by offering a clear tuorial on making signatures, offers lots of unique binding methods such as free form crochet,bead macrameor latch and rug hook binding and hand and machine sew embellishing stiches.I know where I am going to look for my next art journal ideas.
  6. Projects combining techniques:Shows you how to make many journals, wall hangings and bags with the techniques learned throughout this book.

I think this bôok is fab!Anyone who loves art journaling and wants to venture into working on fabric aswell, or any one that just needs paper and fabric inspiration should buy this book!!!!!!!!!!!!

Autor; Traci Bautista

Sunday 4 April 2010

Travel journal inspiration

I am going on a 5 day trip soon and thats why i want to make and keep a travel journal.Here are my links:
  • I hanna's post on keeping a journal.With many cool tips
  • I want to sew the pages like ihanna did.So here are some good tips
  • Travel journal writing tips
  • Fab tutorial

Friday 2 April 2010

Spring cleaning Quilt- Along


I am not a tidy person.At all.But when the weather gets nicer, I do get into a Spring Cleaning mood. But it is still kinda boring.Then I had an idea!Why not make a quilt as I go along?The idea was born.Let's get right down to it:


  1. Get all your fabric out.Everything, scraps, felt....

  2. Put on some good music

  3. Now start off by drawing a pattern for all your squares of your future quilt.Cut it out and you have your pattern

  4. Grab your first fabric.Get a bag ready fro scraps even if you already have one, get a new one.Have a rubbish bin at the ready to.

  5. Spread your fabric out, cut of any dangly bits that are in the way and are to small to be used in a big project and put these in your scrap basket. Trace around your pattern 2-4 times, use the scraps if you can.If not then just cut it out from your main fabric.Cut around this roughly and set aside.

  6. Cut a small sample piece from your fabric to. Fold it up and put away in what ever way you choose, a basket, clear bag, box, shelfing unit-Whatever
  7. Repeat steps 4-6 for all your fabrics.If you have some jersey or silk that is not good for a quilt, then just do the same steps , but do not cut the squares out. Make sure you cut out a sample though.
  8. Once you are done, you can pile all your tester pieces, add some elastic, to hang it up by and staple the whole thing.Now you have a handy refrence to exactly what fabrics you have.
  9. Go through your scrap bin and sort to bin, new scrapbin or if they are big enough to fit your square blanket pattern on them, then draw around it again.
  10. Sort all your felt into scraps(seperate felt scrapbox) or new fabric.
  11. Cut out all your squares

I will continue this soon.If you decided to take part, just leave a comment below with a link to your site and i will ad you to the toolbar.Be sure to share photos so far.At the ens of this project I will also post links to how to use fabric and felt scraps:)

XO MAKEALIFE


Thursday 1 April 2010

Talk about the product:Paintbrushes Part 2

Okay, let's continue were we left of.
There are many, many Paintbrush sizes out there and you have to just experiment with different sizes, until you find your perfect size for you. It will also depend on what you want to do with it. For painting details such as fasces, I like to use a round sable brush in 4, 6, and 8. But if I want to just paint the background, I prefer to use a bigger size flat, sturdy brushes like size 10 or 12.

The last thing that you need to know is that there are different types of brushes, which get divided into 3 categories.
  • Round brush: Exactly what it sounds like. Rounded with a pointed tip. Works well for painting details, but when bought in a big size also good for big surfaces and flat washes.
  • Mop brush: This is similar to a round brush, but just a bit more flimsy. This is used for laying large areas of colours quickly.
  • Flat brush: You guest it, this brush is flat. It is good for painting large areas.

That's what I would call the basics. Now this is the same with almost every art supply and technique.T he best way to learn is to just experiment. A last tip: do not buy cheap brushes, or else the hairs will start to fall out and stick to whatever you are painting.